Tuesday, February 17, 2015

Free Motion Quilting

At February's modern quilt guild meeting last week I brought home a charity quilt top that needed quilting. Members can take home blocks to be pieced, quilt tops to be quilted, and/or quilts to be bound. The finished quilts will be donated to a local charity. I'm in need of some serious free motion quilting practice so I chose a quilt top that needed quilting.


This charity quilt is made up of 15 large squares in different shades of grey with pops of bright colors. I selected an Aurifil thread in a very light blue/grey which goes well with all of the blocks. I'm planning to quilt it using motifs that I've never put on a quilt before. It was just me and Angela Walters Free Motion for Beginners this weekend. So far I have practiced concentric circles (the type that are supposed to touch), pebbles, flowers, loopys, and paisleys. I have to say that some of these seem to look much better in photos than in person! So far the most difficult for me is the paisley. My thread kept breaking on this fmq design, likely because of my inconsistent speed and/or wild changing of direction while quilting. It's also easy to get trapped in a place that you can't get out of with this pattern. I ended up missing a few big areas and had to go back fill in later too. That said, I can see using this in small spaces again because it does look pretty good.

I started with the pebbles in one of the wonky star blocks. Pebbles take forever! I can't imagine doing pebbles in that scale all over on a large quilt - if I decide to do that on an entire quilt its going to be stones or large rocks for me! On the plus side they look good and were pretty easy to do for a beginner. The one motif that I really want to perfect is the concentric circle. For me it isn't easy to get those circles to touch... and I never quite get close enough to the edge so I have big gaps that I end up filling in later... and usually in a strange way. I also have several enormous circles... how'd that happen?! I'm thinking each row will need a few circles because I'd like to add that to my list of 'go to' free motion quilting patterns.


I think I perfected the flower pattern. I could see using this design on a large quilt. It's easily the most fun pattern so far. 


And the current 'easiest' free motion quilting pattern so far is loopys. I've seen this fmq pattern on many full size quilts and wanted to use it for awhile but never had just the right quilt top for it. I would use this pattern again, its quick and effective. I imagine it will be even better once its washed and crinkly.  


I have eight blocks finished so far. One of the things I noticed after an afternoon of quilting my muscles started to fatigue, once that happened most of my control went out the window... my lines were shaky, I couldn't stay within the boundaries, round things were square, square things were round, you get the idea... even though I had more energy mentally, my muscles were done and I had to take a break. 


Link Parti's 


Take a look at the linki parti's I get down with here or by clicking on the Linki Parti's link above. Linking up to Show and Tell Tuesday Freshly Pieced Sew Fresh Quilts My Quilt Infatuation Whoop Whoop Friday Richard and Tanya Quilts and Sew Cute Tuesday 

Thursday, February 12, 2015

Star of the Show Rainbow Mini Quilt

It is no secret that I’m pretty much in love with V and Co Simply Color line – her first line ever, by the way. It would be okay with me if she just did that line over and over… The fabrics are so bright and colorful. I used it on my rainbow herringbone quilt and rainbow quilted pillow cover last year. I came across a bunch of Simply Color fabrics just before the New Year and bought them up! The first item to be made from my coveted stash is this rainbow mini quilt, a special request from a client who needed a ‘star of the show’ for her mini quilt wall! This mini quilt was featured at Richard and Tanya's Link a Finish Friday!!


Yum! This mini is a redo of the rainbow pillow cover although this one needed to be a little larger as the pillow was an 18 inch square and the client was needing a 20x20 for her mini quilt wall. The adding of one more row going across and down proved to be a challenge! I did use a few scraps from my stash and a number of fabrics from V and Co Simply Style line which has many of the same colors.


I decided on a rainbow binding, although any of the colors probably would have worked out well and if it were for me I would have done teal or mustard… or maybe the plum because it is gorgeous! For me to say that about a purple is really something; I have almost no purple to speak of in my stash, it just isn't something I’m drawn to, but these purples are amazing!


Since I machine stitch my bindings to the front and back – first I stitch the binding to the back and then flip and machine stitch to the front – I had a rough time deciding on the color of thread to use on the front binding with the rainbow colored binding; I didn't want the thread to be overly obvious against some of the fabrics and blend right in with others… I nearly went with white which would have stood out on most but decided on grey at the last minute and was really happy with how it turned out. Last fall I attended Madison Quilt Expo and listened to Weeks Ringle speak and recall her saying that if she could only have a few colors of thread she would choose grey, tan and white… and maybe a few others but those are the ones I can remember! Good call on the grey Weeks, good call!


My first go hanging a quilt with washi tape; works! Well, just long enough to take photos and then it promptly fell down… that’s ok, I work fast! 

Just for fun I did a pieced backing with fabrics from the front. I even tried to place them so the straight line quilting would line up same as the front. It was very close. Close enough!


Link Parti's 


Take a look at the linki parti's I get down with here or by clicking on the Linki Parti's link above. Linking up to crazy mom quilts Quilt Matters Richard and Tanya Quilts Whoop Whoop Friday Show Off Saturday and My Quilt Infatuation 

Friday, February 6, 2015

An Owly Finish

A few weeks ago I mentioned a rainbow baby quilt top I was working on and I wanted to share the owly finish with you. These cute owls were just the thing to put on the back!


For the quilting on this baby quilt I did more meandering - I have been meandering up a storm lately! Very unlike me...  But I'm feeling a little better each time.


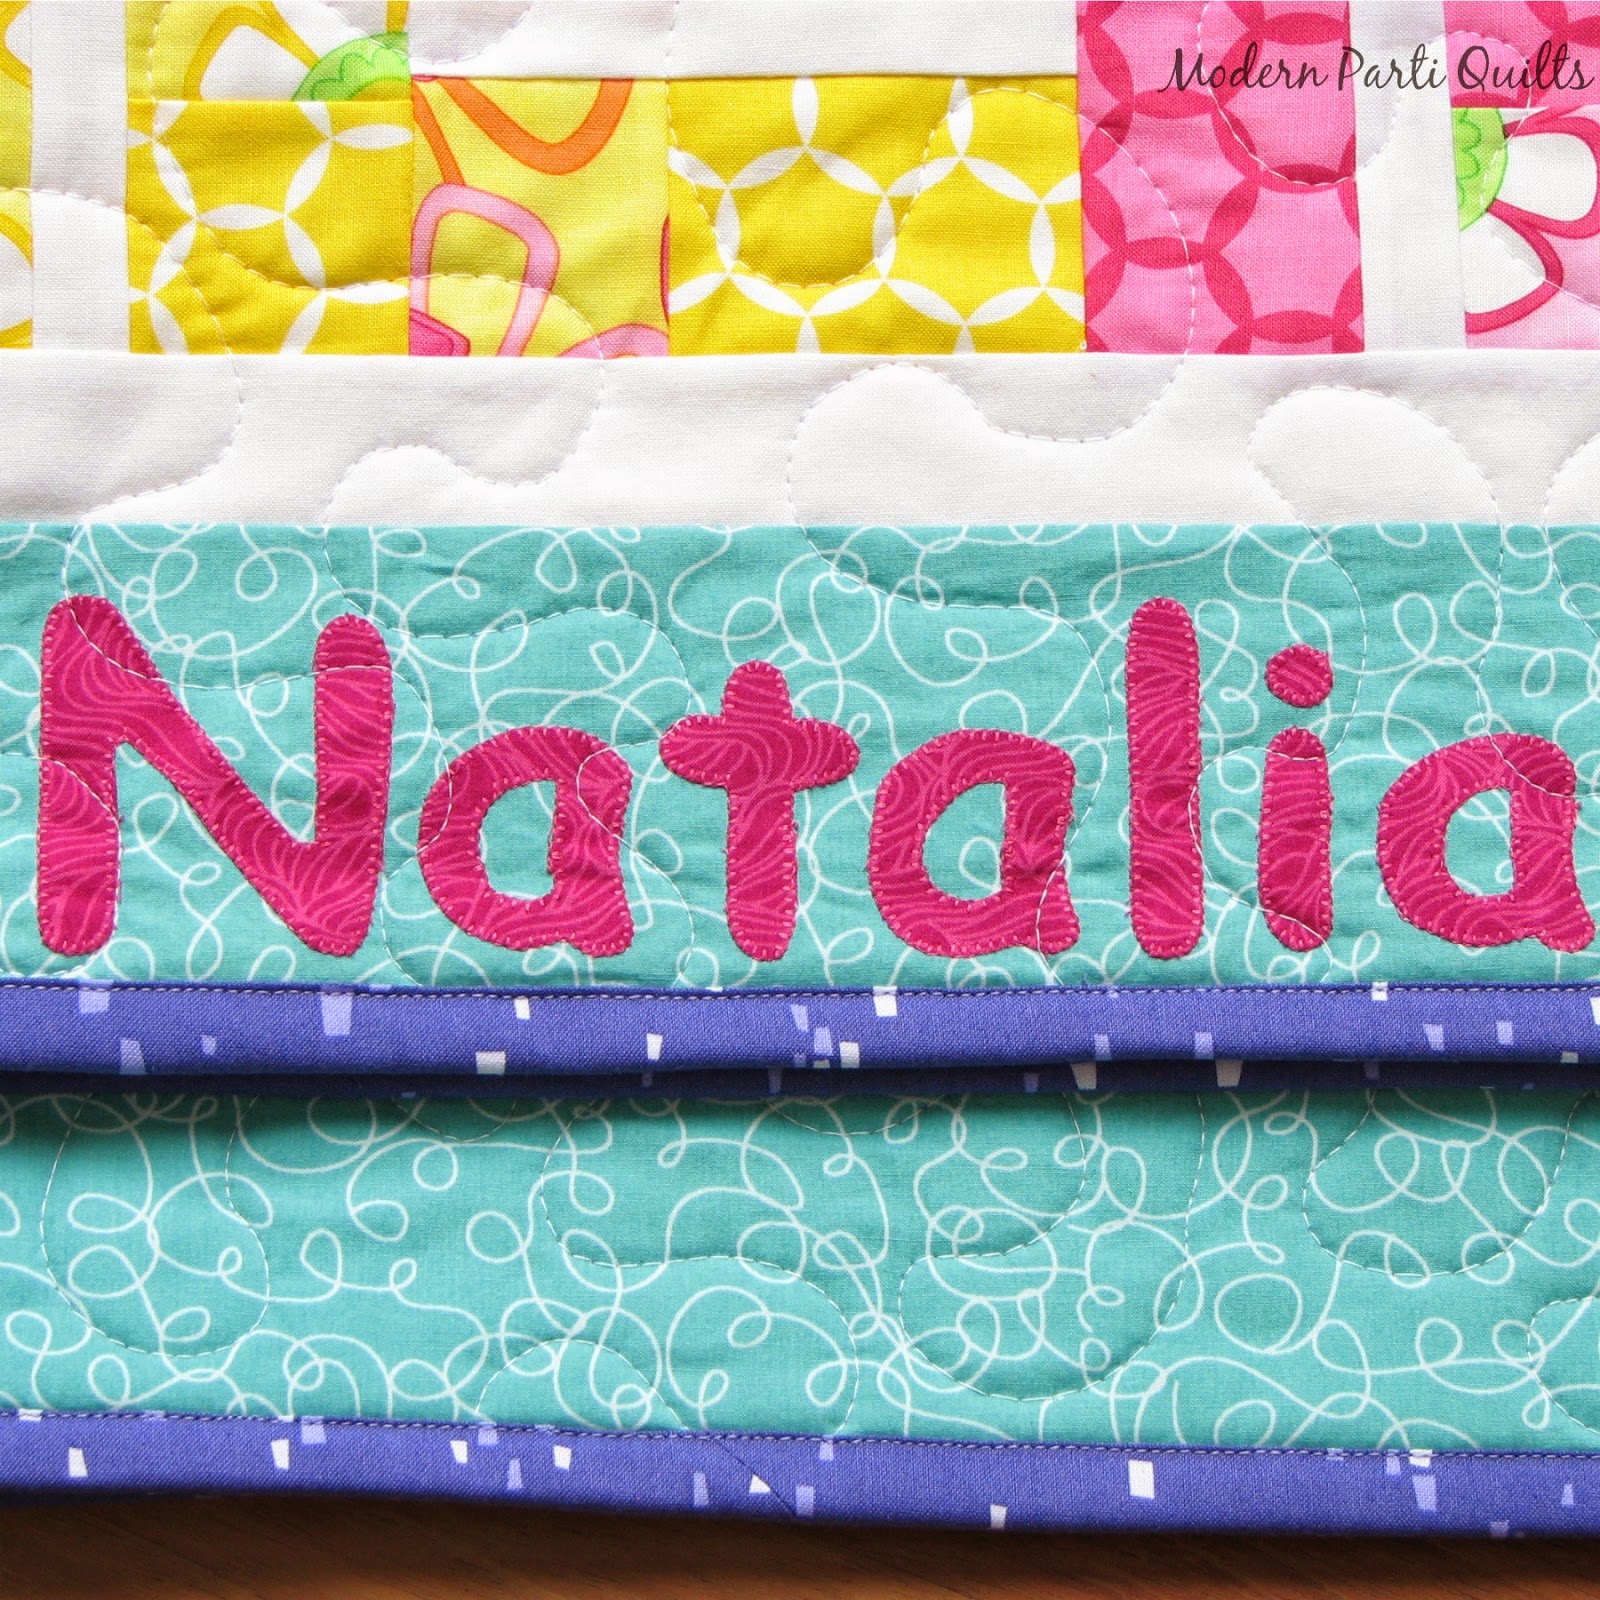
I was a little worried about the placement of the applique letters because it seems that no matter how many times you measure and plan ahead, these things have a way of moving.... and I knew I wouldn't discover it until the binding was attached. Not this time; placed the letters just where I wanted them... whew!


The quilt measures about 31x31. Fabrics were from Moda Good Morning by Me and My Sister Designs (pattern too), Kona White, the teal squiggle is from Jungle Bungle by Tim and Beck and the owls were from Timeless Treasures.


I appliqued the name using Wonder Under and machine stitching to attach the letters to the border before attaching to the quilt. I have found that machine stitching is necessary even with the Wonder Under for items that are going to be washed a lot. There was a few places that I didn't machine stitch on my Mr. P quilt (like the doggie door) and it has started to pull up on the edges that weren't stitched down. Mr. Peanut doesn't mind though...

Link Parti's 


Take a look at the linki parti's I get down with here or by clicking on the Linki Parti's link above. Linking up to crazy mom quilts Quokka Quilts Sew Cute Tuesday Quilt Story and A Quarter Inch from the Edge