Showing posts with label pillow. Show all posts

Wednesday, June 17, 2015

Pillows and Patio Gardens

I’m still working on the third quilt from my Coquette fat eighth bundle but I did manage to complete a small triangle baby quilt and a zig zag quilted pillow! How much fabric has been stuffed in these little bundles?!


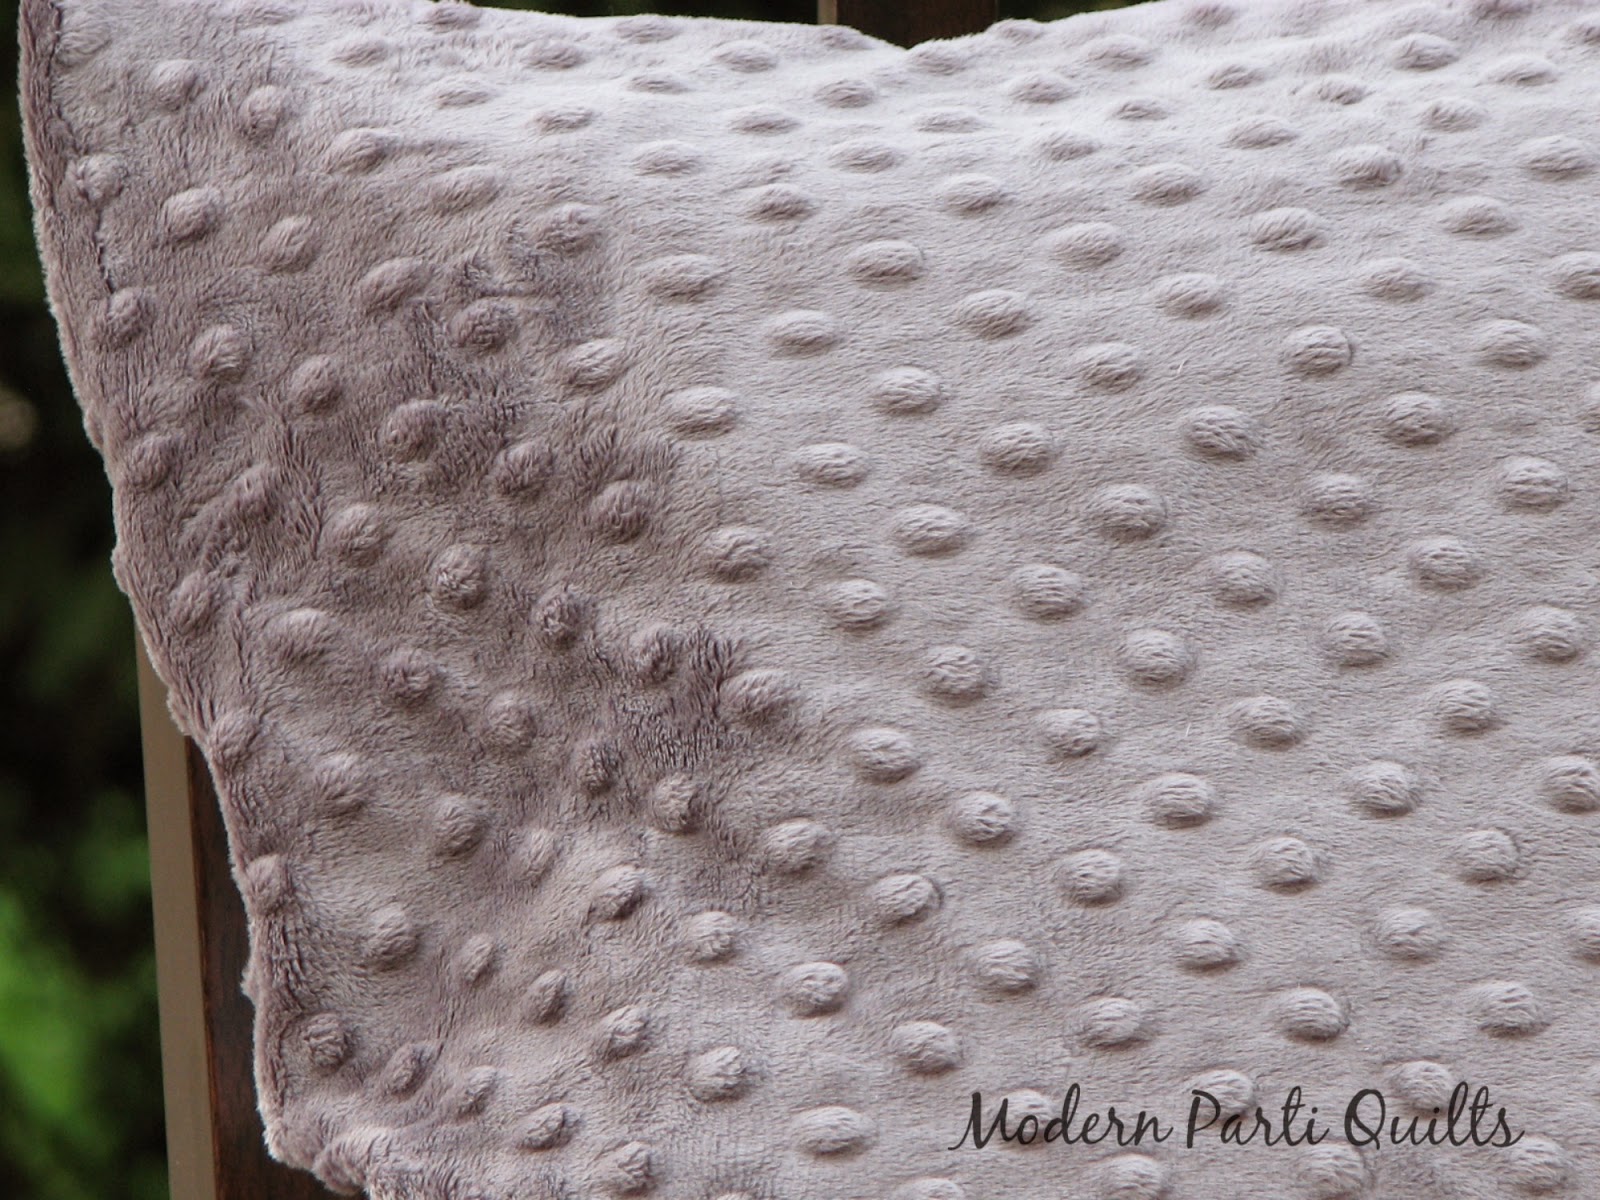
I used only the blues from the collection along with a bit of Kona white for the pillow top. I installed a blue invisible zipper and backed the pillow with white minky dot – minky is my go-to when I can’t decide what else to use.  Something with this blue… I just don’t have anything in my stash that ‘goes’ with it. Hard to believe I know! Tons of navy and tons of teal but blue is in short supply at my place.


The second quilt from my Coquette bundle is this baby quilt, smaller than the crib quilt I shared last week this measures quilt measures a square 31x31. 


Instead of quilting every seam I did only the diagonals which made a pretty cool diamond pattern on the back.


I’m a little in love with this purple lace fabric and I especially like that the white in this fabric line is not bright white rather a soft cream.


Three finished projects from the bundle so far. I still have quilt number three on my design wall….  And happily working on other projects at the moment! 


Patio Garden 

I still can’t believe it has been over four years since we moved to this area; but what I really can’t believe is that this is the first year that we’ve had a garden… a patio garden!  We used to have a huge garden with every vegetable you could imagine at our old place – I miss that. This year my hubby and I put together a patio garden with pots and containers of little tomatoes, jalapenos, lettuce, basil and cucumbers!  We have gotten a ton of rain and had a few warm days so everything is really taking off this week. Patio gardens are pretty simple to start and maintain. We spent half a day shopping for plants and planters and did the planting in a couple of hours – a weekend project. Now we, and by we I mean my hubby, just make sure that the pots are watered, no weeding required! Next year I’m hoping to add some zucchini and full size tomatoes.


And I couldn’t help take a photo of Peanut, our parti-color cocker spaniel. He’s getting very sleepy while he patiently waits for me to take photos this morning.  He has to stay awake so that he doesn’t miss a thing! After all, there could be opportunities for barking (!) at any minute... 


Link Parti's 


Take a look at the linki parti's I get down with here or by clicking on the Linki Parti's link above. Linking up to Sew Fresh Quilts Whoop Whoop Friday Quilt Story Sew Cute Tuesday My Quilt Infatuation and crazy mom quilts

Wednesday, May 27, 2015

Postage Stamp Pillow

After finishing up my Sherbet Baby Quilt I still had quite a few scraps and jelly roll strips leftover over in varying lengths. I decided to put together some 9 patch blocks just to see how it went - I thought I might be in for weeks of sewing tiny squares together but I managed to put all the little blocks together in a weekend. Usually I sew my quilts together in rows so first sewing these into nine patch blocks was a first and a very good idea for these little squares. My test project was this postage stamp pillow cover


Usually I make a pillow with leftovers from a quilt... I guess I still wasn't quite ready to commit to a full quilt made with just 2.5 inch squares. Finished squares are 2 inches. This pillow was made with nine- 9 patch blocks and fits an 18 inch pillow. I was able to strip piece many of the leftovers which allowed for some quick block making. So. Much. Ironing! Thankfully I don't mind ironing...


I went with straight line quilting around each seam... and decided that I was not going to be doing that for a large quilt even though I love the look. It took quite some time just for the pillow top. After lots of hmming and hawing I went with Tangerine Leaf from Botanics by Carolyn Friedlander for the backing fabric. I really love this line and especially this print; I have it in every color... although I'm mostly hoarding it! Why is it so hard to part with the prettiest fabrics?!


I wasn't sure if this fabric was appropriate for a backing and I don't think I would use it for the back of a quilt but it works well with the pillow. Plus the leaves fit right in with the birds and flowers from the Up Parasol line used on the front. And of course an invisible zipper in cream!


I am ridiculously happy with that photo of the zipper!

Link Parti's 


Take a look at the linki parti's I get down with here or by clicking on the Linki Parti's link above. Linking up to Sew Fresh Quilts LAFF Whoop Whoop Friday crazy mom quilts Sew Cute Tuesday i have to say and My Quilt Infatuation 

Thursday, January 1, 2015

Welcome 2015

Happy New Year! 2014 was a great quilty year for me!

I sold my first quilt,


wrote my first blog post,


tried tons of new techniques (quilting with minky, improv piecing, installing an invisible zipper, free motion quilting),


finished 25 quilts, the year of the dog quilt

finished 15 pillows, a couple not pictured


finished 19 mini quilts,


made curtains,


joined a modern quilt guild,


and beefed up my marketing and photography skills too! Whew, that's a lot! And there is tons more to learn in 2015! I'm not crazy about resolutions but a few of the quilty things I would like to do this year include 1) learn to paper piece, 2) learn to make a pouch with a zipper, not an invisible zipper I can do that! 3) make a quilt with different sized blocks and 4) conquer Y-seams (eek, can't believe I put that in writing - they are scary). Seems doable!


Link Parti's 

Take a look at the linki parti's I get down with here or by clicking on the Linki Parti's link above. Linking up to Whoop Whoop Friday i have to say and Sew Cute Tuesday 

Wednesday, December 31, 2014

Well that's it then

The sun has finally came out here in Wisconsin and with it frigid temperatures... that's ok, I'm staying inside sewing! I took out a few bonus HSTs from a chevron project earlier this year and whipped up this orange and grey pinwheel pillow


The HSTs were already assembled from the chevron pillow which was made flying geese style, perfect for bonus projects! I just ironed and squared them, and played with them on my design wall for a little while until I had something I liked. I was three HSTs short.... rather than take some out I added the fun low volume pinwheel in the center! I kept the quilting simple and did straight line quilting on each diagonal which created a diamond pattern on the front.


I had just the thing for the backing, I picked up this great bicycle fabric from Erin McMorris by Free Spirit at a lqs during the summer quilt shop hop and had to use it here. Those little baskets carrying flowers are so cute! The orange comes from High Street by Lily Ashubry for Moda.


And of course I just had to install an invisible zipper... how could I not? The pull matched just perfectly with the little bikes... It's like I had to!


This pillow is small just 16 inch square and has been added to my etsy shop which is in need of some new things after a holiday of custom orders!

Link Parti's 

Take a look at the link parti's I get down with here or by clicking on the Linki Parti's link above. Linking up to Richard and Tanya Quilt crazy mom quilts Quilt Story My Quilt Infatuation and Quokka Quilts 

Monday, December 8, 2014

First Timer

I just signed up for my first mini quilt swap! Kate - @katebasti on Instagram - is hosting a Rainbow Mini Quilt swap. Hurry over registration ends on December 11. I believe the mail date is around March so plenty of time to come up with a great idea! The wall behind my sewing machine is bare, no more! Need inspiration for the swap? Here’s a rainbow pillow sham I completed this summer before starting my blog. This pillow was featured at Quilt Story: Fabric Tuesday and My Quilt Infatuation: Needle and Thread Thursday!!


It was made with scraps from my rainbow herringbone quilt and a few pieces from my scrap bins. The squares are 2 inches finished. The pillow cover fits an 18 inch pillow sham. The fabrics are Simply Color by V and Co, my most favorite rainbow collection ever. I've mentioned that before, I know! I posted this a couple of weeks ago on Instagram, you can find me at @modernpartiquilts

I kept the quilting simple with straight line quilting going on both sides of every seam. The pillow cover has a solid teal envelop style backing.


I'm super duper excited about my first mini quilt swap!!

Link Parti's 

Take a look at the linki parti's I get down with here or by clicking on the Linki Parti's link above. Linking up to crazy mom quilts Quilt Story i have to say Sew Fresh Quilts My Quilt Infatuation Quilt Matters and Sew Cute Tuesday

Wednesday, November 5, 2014

String Pillow


I had quite a few strips leftover when I finished Gumballs. I like scraps but I could have made another quilt all the leftovers I had, wufda! I put together this bonus pillow with a few of the leftovers. I still have plenty to round out my pink and teal stash bins. When I first started quilting I tried to keep my scraps as minimal as possible. I even threw scraps in the trash... gone but not forgotten, sigh. Now I always cut a little extra to build my scrap bins. This pillow was featured at Quilt Story!!


I cut the strips into varied widths and lengths of 3 and 5 inches and put the wider strip right in the middle. I had no plan while putting this together, just sewed together pairs and then matched them up with other pairs until I had long strips. I moved them around a few times on my design wall until I liked the layout. Using light pink thread I did some free motion quilting in a wavy pattern going the opposite direction as the strips. I saw a similar quilt top in Sunday Morning Quilts. Love.


I had a scrap piece of hot pink minky that was just the thing for the back... wow!


This is the second time I have used minky on the back of a pillow. It's a little stretchy and slippery but the backing piece is small so its a fairly manageable task.... hardly any swearing at all! Serious. This pillow ended up a good fit for an 18 inch pillow insert. It actually measures a little bit smaller than 18 inches square but I like my pillows poufy! This pillow is available in my etsy shop.

Link Parti's 

Take a look at the linki parti's I get down with here or by clicking on the Linki Parti's link above. Linking up to My Quilt Infatuation i have to say Quilt Story Pretty Bobbins Quilt Matters Richard and Tanya Quilts crazy mom quilts and Blossom Heart Quilts 

Best,
Heather

Follow my blog with Bloglovin

Wednesday, October 29, 2014

Limeade Chevron Quilt and Bonus Projects

What I really wanted to call this quilt was Margarita... the bright pink and lime colors, yummy! But this quilt is for a toddler soooo I think I better save that for another day! I've been working on the limeade chevron quilt since my Gumballs and Elephants post. The top is done, backing is pieced, and quilt has been basted. Just waiting for some inspiration for the quilting.


Bonus Pieces 


While I'm waiting for the inspiration arrow to strike I'll share a little more about bonus projects. This is one of of those quilts with tons and tons of leftover bonus pieces to make bonus projects. Here's how I make bonus pieces for this particular quilt:

This chevron pattern is made up of flying geese blocks using rectangles and squares. My rectangles were 6.5x3.5 and squares measured 3.5. Two squares for each rectangle. I mark the center of the square pieces as normal for this block, on the wrong side of the fabric. Then using a 1/2 inch ruler I mark a second line off to the side. If you don't have a 1/2 inch ruler, just move your ruler over half an inch and mark the second line.


Do this for all of your square pieces.  


Align your square and rectangles, right sides together. Stitch on the center line as usual to make your flying geese block. Chain piecing is a big help here! Once you've finished with your chain, remove the entire chain and feed it through again this time stitching on the second line you drew. You don't need to snip in between pieces until both lines have been stitched. 


Now cut right down the center of your two lines. You will have your flying geese block and your HST bonus piece! Repeat with another square to complete your flying geese block. The great thing about using this method for flying geese is two bonus pieces for each block, yay!


And each quilt will make mounds of bonus pieces! All ready to go just need ironing and squaring up! These HST measured 2.5 inches after squaring up.


Bonus pieces aren't limited to flying geese blocks. You can use this method anytime that you're cutting away a corner. I use it often when making star blocks. It's easier to piece HSTs while they are still part of the square. Once you cut the corner away if you want to put the two triangles back together again you'll end up sewing on the bias which is tricky since the bias is stretchy and the corners always seem to get sucked into the sewing machine while trying to piece them.

A few projects I've made with bonus pieces when making this quilt

Chevron Doll Quilt


HST Pillow Sham


My argyle pinwheel pillow was also created using bonus pieces from a star quilt. There are about a bazillion things to do with HSTs!

Link Parti's 

Take a look at the linki parti's I get down with here or by clicking on the Linki Parti's link above. Linking up to Freshly Pieced My Quilt Infatuation Whoop Whoop Friday i have to say and Pretty Bobbins 

Tuesday, October 21, 2014

Bonus Pillows and Low Vol Haul

I love bonus projects! They come in all sorts, pillows, mug rugs, doll quilts and they look an awful lot like the quilt I just finished. I love taking the scraps from my quilts and making something useful... and maybe its easier than picking a new project or putting them in the scrap bins. These small projects are a great way to try something new without getting in over my head! I had quite a few scraps leftover from my Gumballs top, nearly enough to make another baby quilt, might have got a little carried away with the cutting I think. Since I haven't installed a zipper for a couple of weeks I'm feeling a pillow (or two considering the pile of scraps) this time... my obsession for pillows with zippers is so weird I know! I love pillows so much I even made a link just for them


This is about two-thirds of the stack of leftovers. I cut them into different sized widths and in lengths of 3, 5, and 7 inches. I considered adding another colorway and doing another baby quilt but I've got project ideas stacking up over here! I believe I will be able to make two pillows - the first is kind of a improv coin/strip affair which I've got hanging on my design wall. I have several rows for that one sewn. I'm thinking a string quilt pillow (doll quilt?) for the second. If there are more scraps they are heading for the scrap bins; two bonus projects are the limit!

I mentioned the low volume swap hosted by Patch the Giraffe and From Bolt to Beauty a little while ago. The swap is complete! Look at this haul of low volume fabrics. I have been stalking a few of my favorite websites and books looking for ideas and I've tentatively decided; I'm thinking pastel wonky stars against these fun fabrics. I have never used low vol fabrics for a background before. It's going to be adventure. What a fun swap this was and useful since I don't have a lot of cute low vol's - where do folks find these cute fabrics, honestly coat hangers, music notes and tea cups?! I'll be keeping my eyes out for more fun swaps from these ladies!


In addition to these wips I'm also working on the pink, lime and grey chevron quilt. I had a major issue with my fabric arriving timely so progress has stalled, but the fabric is here now, it's washed, the white fabric has been cut! Time to catch up. I actually need to put my bonus pillows and low vol projects aside until I've finished the custom quilt order.

Link Parti's 

Take a look at the linki parti's I get down with here or by clicking on the Linki Parti's link above. Linking up to Freshly Pieced and Sew Fresh Quilts 

Sunday, September 28, 2014

Orange You Glad It's Finished?

Well I sure am!  The Vertical Chevron Quilt is finally finished. This quilt will be a crib quilt for a special addition coming later this fall/early winter. It measures right around 32x48.


The last time I mentioned this quilt it had been quilted and I was awaiting a binding selection. We decided on the Stitched Road Granite by Art Gallery - what a great binding this made!


This quilt is made up of fabrics from my stash. Since teal is one of my favorite colors and I am always drawn to teals when just browsing I had ample teals. I did have to purchase most of the bright orange fabrics as I didn't have many of my own although I knew I wanted to take a look at a few fabrics by Lily Ashbury, she has amazing selections when looking for fabrics saturated in colors especially pinks, orange and greens. The white paisley on orange is one of her fabrics from the Folklore line which I adore! I headed down to my lqs and found some great Botanics in tangerine that went great with this quilt as well.

This particular crib quilt was straight line quilted and lined with a super soft minky dot backing in Charcoal. Thankfully I did not experience the minky pulling through to the white front fabrics this time around! Remember the dog quilt with they navy minky - I'd be lying if I said I wasn't nervous. Thankfully everything worked out just as it is supposed to.


Perfect for a winter baby! Since I enjoyed working with these fabrics so much and had a few scraps leftover, I went ahead and made a coordinating pillow using the fabrics from the quilt top. This pillow was featured at Quilt Story: Fabric Tuesday!!!


If you guessed this pillow had an invisible zipper you would be right on. Honestly I will use every opportunity to practice the invisible zipper! The backing of this pillow is coordinating charcoal minky dot. The pillow is a bit of a surprise so I hope it will go over well.


This was the first 60 degree triangle quilt I've done. This pillow was small - only 16 inch square. The triangles were '3 inch finished' - I'm still not really sure what that refers to but I saw it on the ruler I was using. I'm thinking it must be the horizontal top (or bottom) of the triangle as my math was way off and I ended up needing way more rows both horizontally and vertically to make up a usable pillow sham. I did straight line quilting across all the seams, which is a look I really like on this type of quilt.


Don't mind the lumps - I don't have a 16 inch pillow insert so its just some folded up towels in there!

Link Parti's 

Take a look at the linki parti's I get down with here or by clicking on the Linki Parti's link above. Linking up to Stitch by Stitch, Quilt Story My Quilt InfatuationRichard and Tanya Quilts, Whoop Whoop FridayQuokka Quilts and crazy mom quilts 

Best,
Heather

Thursday, September 11, 2014

Happy Birthday to Me and a Friday Finish

Hey it's my birthday!  September 11 that's my day! 

It’s my birthday and for me birthdays always mean cake and wine…. Also acceptable is wine and cake – either way. And just to clarify, not whining, but w-i-n-e! Cake demand request to my hubby went in earlier this week so we’ll see what he comes up with! I think there will even be dinner out included at an awesome Cajun restaurant nearby. Liliana’s can make any day feel special. Birthdays. Are. Good.

Also, in the theme of presents, gifts and good things, I was a WINNER this week (do you see the word w-i-n-e in there??). Pink Chalk Studios hosted a studio showcase this summer and I was one of 50 winners. Thanks to them for their generous giveaway! I love their What Goes With What series which shows off coordinating solids for different designer fabric lines.

Ok, last thing about presents… or gifts…. Last week I told you I was planning to attend the Madison Quilt Expo. It’s pretty much as close as you can get to quilt-y overload! I didn't get nearly as much stuff as I did last year. Here’s my haul from this year

Those zippers were just 50c each – they are all long enough to use for quilted pillows. This year at the Expo I hardly bought any fabric, just 4 charm packs and 1 fat quarter… that’s hardly any right? My mom came down to attend and stay for a visit. She brought my dad and their cocker spaniel, Chloe, to visit too. Just to clarify neither of them (dog or dad) went to the quilt expo. It’s no wonder I didn't get much sewing done last week…. Lots of shopping, eating and touring the countryside while they were here. My mom and I did start a Halloween sewing project before they went home. I know, I already said that I was done with Halloween projects this year but what the heck I'm going for it. My mom came home from the Expo with a Quick Points scallop ruler. I pulled these cute Ghastlies fabrics so that we could try it out. Another WIP to add to 'the list.' We used the ruler to make some cute scallops from the pink fabric; it worked really well although I think I need some practice sewing curves. I'm not usually a 'frilly' person and don't do much - read never - with edging, piping, rickrack or whatnot. I'm not sure what the scallops and rest of the fabrics will be yet, I was thinking Halloween pillow cases for our bed maybe. I've never made pillow cases before, seems doable though. If you know of a tutorial for king size pillow cases, point me in the right direction!
Back to the Expo. I went to two modern quilt lectures, one of them hosted by Lee of Freshly Pieced! I got to see a bunch of her quilts from the new book she co-authored, Vintage Quilt Revival: 22 Modern Designs From Classic Blocks, in person. Oh yeah, I bought that too…. But that was it, I swear! I love that you can mingle traditional with modern and still consider yourself a modern quilter.

Now the Finish

My Finish Up Friday is a little early this week (did I mention the wine… I’m planning ahead here). I managed to finish quilting the Argyle Pinwheel Pillow, install an invisible zipper for the second time ever, (side note - I hope by this time next year I will be able to do this without reviewing each step because there are a lot of steps!), and put it all together for photographs. Yay! When quilting the bottom half of the pillow I mimicked the quilting on the top only the lines were going in the opposite direction. It looked better on top, there was a great big open space in the lower left that I didn't like. I added the three straight lines going in the opposite direction to fill the area. Much better! It actually ended up a better size for an 18 inch pillow insert instead of the 20 inch I thought would work. No matter. I’m happy with this little creation, I really like how the band wraps right around the pillow and disappears.


And

This pillow is available in my etsy shop.

Linking up this week with