Showing posts with label finishes. Show all posts

Friday, September 11, 2015

Green Bay Packers Quilt

Whew I made it! I finished my modern Green Bay Packers quilt just in time for the first game of the season. Green and gold fabrics are Cotton and Steel basics; I would use them again for another Packers quilt.


This football quilt was one of the most challenging quilts I've ever completed! I'd put it in the modern sampler category with the different sized blocks, asymmetry and traditional blocks combined with improv blocks.


I really like the football blocks - I didn't have a pattern but I was inspired by cluck cluck sew's Touchdown pattern so I just winged it. I also added one great big Swoon block, starburst blocks, and letters from the Spell it with Moda tutorials which are all over the place on the internet and sort of tricky to find. The rest of the blocks are random improv or simple pinwheels, HSTs and hourglass blocks. The flying geese blocks were made with the Quilt in a Day ruler in 4 and 8 inch blocks - this is the first time I have used the ruler following the instructions - boy did that make ALL the difference! I can't see using anything else for flying geese... I must acquire all sizes of the ruler now. Crisp points every time!


The tiny cross block is 3 inches finished, very small pieces in that block! I went with straight line quilting every 1 1/4 inches in a gold colored Mettler thread. Since I backed the quilt in chocolate colored minky I wanted something that would't give my machine lots of trouble due to the impending deadline. I also did a scrappy binding in solid green and gold fabrics. It measures 55x57 - great size for game day


Although I truly hate to part with it I decided to donate this quilt to Shorewood Cocker Rescue annual fundraiser this weekend in southern Wisconsin. The chocolate backing goes great with the footballs and also our beautiful foster Mya, who has been with us since May of this year waiting for her forever home!


We have a very busy weekend planned - Rescue fundraiser on Saturday, football on Sunday and today is my birthday so celebrating of course! Wine, cake and yummy food I hope! My hubby brought home an orange flower arrangement with gerbera daisies, roses, sunflowers, lilies and other things I can only identify as very pretty so we are off to a good start!


This quilt is an adventure and most definitely one of my favorite quilts of the year!

Link Parti's 


Take a look at the linki parti's I get down with here or by clicking on the Linki Parti's link above. Linking up to Whoop Whoop Friday What a Hoot! Sew Cute Tuesday Quilt Story My Quilt Infatuation and crazy mom quilts

Tuesday, June 30, 2015

Herringbone Quilt, Final Fat Eighth Bundle Project

After making two triangle quilts (here and here) with a fat eighth bundle of Coquette by Chez Moi I did something a little different and made this girly herringbone quilt. It has been quite a while since I used a lot of white in a quilt so it was fun to revisit something familiar. This quilt was featured on Quilt Story!


I pulled out all of the green and blue fabrics from the bundle leaving just shades of pink, purple and yellow. The blues ended up in a herringbone pillow, the greens are just orphaned to the scrap bin for now.


The backing is pieced in purple and yellow - I was a little nervous that I wouldn't like how it turned out but I'm really happy with it.


I especially love the chevron pattern on the back left by the quilting! I followed every row on either side of the seam using my walking foot. I used white thread since I was using a big dash of Kona White in this baby quilt. I used just under one yard of white for this quilt which measures 36x38.


When making my rainbow herringbone quilt last year I worried that it would be difficult to line up the seams but it is actually a very forgiving pattern. You can grab a link to the herringbone tutorial on my pinterest tutorials board.  I modified it some but the instructions are really good. My cut pieces were 2.5 x 9 which makes this a jelly roll friendly pattern too! I did have a little trouble with the rows not lining up this time around - there is a good dash of 'eye-balling' that goes into this quilt when piecing the rows. At first I thought my seam allowances were off but it ended up that my eye-balling was the issue. I must have had beginners luck when doing the pattern the first time because I didn't experience this issue the first go around.


I'd love to say this is the final installment of my fat eighth bundle but I have a huge pile of scraps so I'm not quite finished with these fabrics. I've used them so much I might just add them to my overflowing scrap bins.

Fat Eighth Bundle Projects 

Just to recap my projects from one fat eighth bundle and 1 1/4 yard of white 
Herringbone Crib Quilt, 36x38, plus 33 inches of white
Herringbone Pillow, 18 inch square, plus 10 inches of white 
A small mountain of scraps!

Link Parti's 


Take a look at the linki parti's I get down with here or by clicking on the Linki Parti's link above. Linking up to Show and Tell Tuesday Sew Fresh Quilts My Quilt Infatuation crazy mom quilts Whoop Whoop Friday Sew Cute Tuesday and Quilt Story 

Wednesday, June 17, 2015

Pillows and Patio Gardens

I’m still working on the third quilt from my Coquette fat eighth bundle but I did manage to complete a small triangle baby quilt and a zig zag quilted pillow! How much fabric has been stuffed in these little bundles?!


I used only the blues from the collection along with a bit of Kona white for the pillow top. I installed a blue invisible zipper and backed the pillow with white minky dot – minky is my go-to when I can’t decide what else to use.  Something with this blue… I just don’t have anything in my stash that ‘goes’ with it. Hard to believe I know! Tons of navy and tons of teal but blue is in short supply at my place.


The second quilt from my Coquette bundle is this baby quilt, smaller than the crib quilt I shared last week this measures quilt measures a square 31x31. 


Instead of quilting every seam I did only the diagonals which made a pretty cool diamond pattern on the back.


I’m a little in love with this purple lace fabric and I especially like that the white in this fabric line is not bright white rather a soft cream.


Three finished projects from the bundle so far. I still have quilt number three on my design wall….  And happily working on other projects at the moment! 


Patio Garden 

I still can’t believe it has been over four years since we moved to this area; but what I really can’t believe is that this is the first year that we’ve had a garden… a patio garden!  We used to have a huge garden with every vegetable you could imagine at our old place – I miss that. This year my hubby and I put together a patio garden with pots and containers of little tomatoes, jalapenos, lettuce, basil and cucumbers!  We have gotten a ton of rain and had a few warm days so everything is really taking off this week. Patio gardens are pretty simple to start and maintain. We spent half a day shopping for plants and planters and did the planting in a couple of hours – a weekend project. Now we, and by we I mean my hubby, just make sure that the pots are watered, no weeding required! Next year I’m hoping to add some zucchini and full size tomatoes.


And I couldn’t help take a photo of Peanut, our parti-color cocker spaniel. He’s getting very sleepy while he patiently waits for me to take photos this morning.  He has to stay awake so that he doesn’t miss a thing! After all, there could be opportunities for barking (!) at any minute... 


Link Parti's 


Take a look at the linki parti's I get down with here or by clicking on the Linki Parti's link above. Linking up to Sew Fresh Quilts Whoop Whoop Friday Quilt Story Sew Cute Tuesday My Quilt Infatuation and crazy mom quilts

Wednesday, June 10, 2015

Three Quilts One Bundle!

Gosh I love deals, especially fabric deals! So much that sometimes I buy too much, way, way too much! When I jumped back into quilting a few years ago I bought an inappropriate amount of fabric; it's normal to buy a couple hundred yards of fabric in a year right?? Right....  I have seriously curtailed my fabric intake this year. The neatly folded fabric has spilled off my shelves into piles on the floor which is not neat at all! In an effort to make a little room I decided to devour a fat eighth bundle of Chez Moi Coquette I bought from the Fat Quarter Shop which has had a birthday or two here. In case you are wondering you can make at least three baby quilts from a single fat eighth bundle!  Here is my first finish


After my recently finished postage stamp quilt with a gazillion tiny squares, a few angles were necessary to keep me straight! This is my first triangle quilt finish. I've dabbled in triangles before with my triangle pillow but this was the first usable quilt with nothing but triangles.


I'm constantly admiring them and I quickly realized how tricky the triangle points can be. By the time I finished this quilt I decided that pressing all seams open was the best way to save them. I did have a couple of 'point casualties' but there is always a couple!


For the quilting I decided on light pink 50wt Auriful thread following each seam. I really love this design partly because it creates stars all over the front and back


Pretty, pretty, pretty! This crib quilt measures 36x42. I was also able to create a triangle baby quilt and a herringbone quilt that hasn't quite taken form yet from this fat eighth bundle! Who knew so much fabric was stuffed into those neatly folded bundles?!

Link Parti's 


Take a look at the linki parti's I get down with here or by clicking on the Linki Parti's link above. Linking up to Whoop Whoop Friday crazy mom quilts LAFF Sew Cute Tuesday i have to say and My Quilt Infatuation 

Sunday, June 7, 2015

Sew What?! The Staple Dress

Sew.... What?! I made something that wasn't a quilt and I liked it!


I came across Me Made Made 2015 on Instagram while cruising Art Gallery Fabrics and thought, I could do this right?!  I bought this amazing voile Indelible Floret Stains in Mulberry by Katarina Roccella and the Staple Dress pattern by April Rhodes. Mustard, mint, teal, pink - yes, please! I read a bunch of reviews of the pattern and quite a few people said that it was a great pattern for beginners and lots of newbies like me had good outcomes.


Since I've never made a piece of clothing before I thought maybe I should practice on something that was a little less expensive.  I bought 2.5 yards of pretty pink pin dot on navy fabric from the bargain bin for around $9.  I think it is rayon - I know nothing about apparel fabric, nothing! Note to other beginners, rayon is very slippery, a less slippery choice might be better for your first garment. The learning begins! A friend of mine, another newbie sewer, joined me and we dove in thinking we'd be wearing our dresses out for the evening. That did not happen. In a few hours we did manage to trace the pattern, cut our fabric pieces, sew together the shoulders and sew the pockets in. We figured we could probably finish sewing the sides together, sew the neck, arms and waist shirring in a couple more hours. That did not happen. On our next meeting we managed to sew the two main pieces together and the neck. Sewing neck and arm holes are really hard! Seriously. My biggest struggle was pressing this fabric; it just would not crease. Even with lots of pins it was still moving around quite a bit while I was sewing. My neck is a little ruffly on the inside as a result but it looks ok on the outside.


I was determined to fix the ruffle effect for the arm holes. Much research commenced. I decided to add a sheerweight fusible interfacing and recut the arm pieces. Much better! The interfacing allowed the fabric to crease when pressed which made all the difference. Next time I'll be sure to carefully fit the arm and neck pieces too. Sigh.


Although a lot of freaking out was done over the waist shirring, it was all for nothing, my Pfaff handled it like a boss. The trickiest part was hand winding the elastic thread on the bobbin. Yes, hand winding the bobbin. And of course I wound it the wrong way the first time. Doh.


Hemming was last. No freaking out but tons of research for hemming slippery fabrics. Basically, the tinier the hem the better. But I still had the pressing issue and this time I couldn't use interfacing like I did with the arms. I took a chance and just sprayed it down with lots and lots of heavy starch. Worked! Immediately put dress on and demand hubby take photos before it falls apart!!


Whew! I sewed a dress. A dress I could, and did, wear to work. Happy!

Link Parti's 


Take a look at the linki parti's I get down with here or by clicking on the Linki Parti's link above. Linking up to Sew Many Ways and Made by You Monday

Wednesday, June 3, 2015

Postage Stamp Quilt

I'm so happy to be finished up with this oversized baby quilt! I love these colors in the Up Parasol line by Heather Bailey and used up every last scrap of them finishing this postage stamp quilt. This quilt was featured at Quilt Story: Fabric Tuesday!!


I added a bunch of scraps from my stash including Art Gallery Pure Elements solids in coral and light pink and several strips of my Birds and Berries collection plus a couple of others strays that fit in. Since these colors are a little out of my typical jive I ended up selecting a solid minky dot in celadon for the backing. Whenever I am in doubt for the backing I tend to gravitate towards a minky in solid. It seems to go with everything!


I liked the solid minky color against all the small squares - there was so much going on that a solid color worked well here. I went ahead with a solid light pink by Art Gallery for the binding after doing a couple 'binding auditions' on instagram.


I kept it really simple with the quilting here; using light teal thread in alternating directions on every other 'stamp.'  I really like the diamond look that it leaves on the backing.


I was really wishing that I had some of the Up Parasol plaid for the binding...  probably going to need to stash some of that!


This quilt was made up of 9 patch blocks created with 2.5 inch unfinished squares. 9 patch blocks measured 6.5 inches when completed and the total quilt size is 43x48. This quilt coordinates with the postage stamp pillow I created last week. Usually I do the pillow as a bonus project but this time I wanted to see if it was feasible with my patience level to actually finish an entire quilt using 2.5 inch squares. Turns out it was, but I've moved on to some nice equilateral triangles for my next project!

Link Parti's 


Take a look at the linki parti's I get down with here or by clicking on the Linki Parti's link above. Linking up to Whoop Whoop Friday crazy mom quilts Sew Cute Tuesday Quilt Story and Show Off Saturday 

Wednesday, May 27, 2015

Postage Stamp Pillow

After finishing up my Sherbet Baby Quilt I still had quite a few scraps and jelly roll strips leftover over in varying lengths. I decided to put together some 9 patch blocks just to see how it went - I thought I might be in for weeks of sewing tiny squares together but I managed to put all the little blocks together in a weekend. Usually I sew my quilts together in rows so first sewing these into nine patch blocks was a first and a very good idea for these little squares. My test project was this postage stamp pillow cover


Usually I make a pillow with leftovers from a quilt... I guess I still wasn't quite ready to commit to a full quilt made with just 2.5 inch squares. Finished squares are 2 inches. This pillow was made with nine- 9 patch blocks and fits an 18 inch pillow. I was able to strip piece many of the leftovers which allowed for some quick block making. So. Much. Ironing! Thankfully I don't mind ironing...


I went with straight line quilting around each seam... and decided that I was not going to be doing that for a large quilt even though I love the look. It took quite some time just for the pillow top. After lots of hmming and hawing I went with Tangerine Leaf from Botanics by Carolyn Friedlander for the backing fabric. I really love this line and especially this print; I have it in every color... although I'm mostly hoarding it! Why is it so hard to part with the prettiest fabrics?!


I wasn't sure if this fabric was appropriate for a backing and I don't think I would use it for the back of a quilt but it works well with the pillow. Plus the leaves fit right in with the birds and flowers from the Up Parasol line used on the front. And of course an invisible zipper in cream!


I am ridiculously happy with that photo of the zipper!

Link Parti's 


Take a look at the linki parti's I get down with here or by clicking on the Linki Parti's link above. Linking up to Sew Fresh Quilts LAFF Whoop Whoop Friday crazy mom quilts Sew Cute Tuesday i have to say and My Quilt Infatuation 

Wednesday, May 20, 2015

Up Parasol Sherbet Baby Quilt

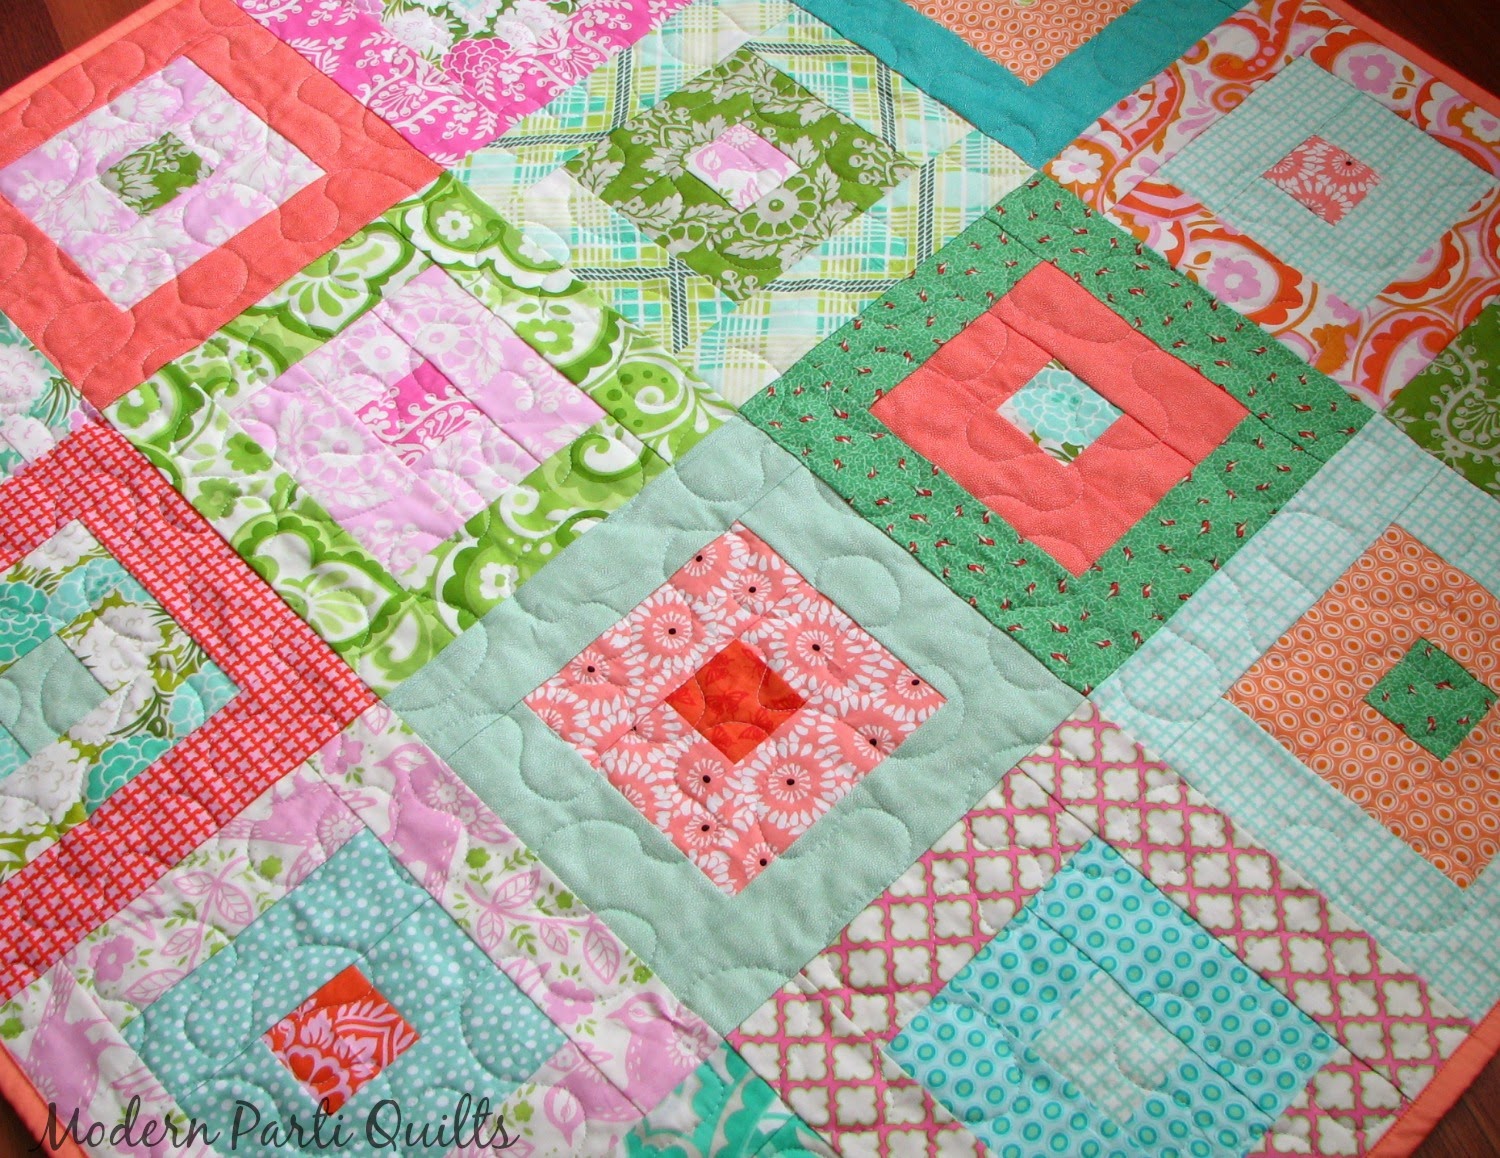
Oh jelly roll, how you get to me every time... I know I'm not the only one who finds it tricky to use jelly rolls but they keep me on my toes that's for sure! I had a bunch of leftover strips from when I made my rainbow burst mini quilt from a jelly roll of Up Parasol by Heather Bailey. I love the large scale prints in this line but it's hard to showcase them when they've been cut into 2.5 inch strips.


I added in some odds and ends from the Birds and Berries collection by Jessi and Lauren Jung. These two bird loving fabric lines went together just perfectly! The sweet oranges, pinks, greens and teals meshed so well! I could not help but think of sherbet ice cream the entire time I was working on this quilt!


With my deep affection for teal and orange fabrics it's no wonder that I drawn to the two of these collections. I'm so glad I was able to pull them together into one baby quilt! And use up part of my jelly roll.... although I still have a bunch of strips leftover so more jelly roll pondering in my future.


I didn't wash it but I can imagine it with all its crinkly quilty goodness. That pop of hot pink gets me every time!  And darn it, I do love plaid, I was just telling my hubby that I need more good plaid in my life... err, stash.


With all of the busy prints in this quilt I chose a solid binding from Art Gallery Elements.  The backing is by Kate Spain's Joy collection in Mint - although it was part of a holiday collection, it goes perfectly with this spring baby quilt!


I've been a meandering machine lately and again did a meandering quilting pattern.  I'm still perfecting my meandering - the pattern is so quick and universal that I just want to do it over and over!!


If you are wanting to make your own jelly roll squares quilt the center squares are 2.5 inches, followed by 6.5 strips and then 10.5 strips. It does require 'squaring up' after each square is complete. This baby quilt measures 40x40 and goes together super fast!

Link Parti's 


Take a look at the linki parti's I get down with here or by clicking on the Linki Parti's link above. Linking up to My Quilt Infatuation LAFF Whoop Whoop Friday Quilt Story Show Tell Tuesday and crazy mom quilts 

Thursday, May 14, 2015

Hourglass Crib Quilt

Last months do.Good Stitches block was a traditional hourglass quilt block combined with solid blocks following the Cloud 9 Shake It Up pattern using colors of red, cream, navy and blue. Can you believe I have never made hourglass blocks before! I'm loving this online quilting bee and learning so much!  I had so much fun making these blocks that I didn't want to stop and made an entire crib quilt top in the bat of an eye!


I had so much fun doing the hourglass blocks that I hardly used any solid blocks but did include a few to shake things up a little.


I had very little yardage available for this quilt as these colors aren't my typical 'thing.' I tried adding some sky blue but that was a major fail! I actually ended up buying a handful of fat quarters from my lqs to round this quilt out including the cute animal print from Alexander Henry above.  The navy colored Kona is Windsor, my favorite shade of navy.


I chose a polka dot binding - big surprise I know! But it really was the perfect thing here... isn't it always though?!  The backing is white minky dot. I quilted the hourglass diagonals and ended up with a cute diamond pattern on the back.


I finished this quilt just in time to capture a couple of pictures of our tree flowering in the backyard. Usually they bloom, it rains and they're gone. These little flowers smell so amazing... like summer


Our blocks were a little bit larger than the Cloud 9 pattern. We used 6.5 inch squares for the solid squares and started with 7.5 inch squares for our hourglass blocks. I love the method of making hourglass blocks in the pattern - nearly perfect centers each time - I didn't need to pin at all which I also loved! I sorta want to keep making these blocks over and over; I'm not quite tired of them yet! This quilt measures 36x47 after washing.

Link Parti's 


Take a look at the linki parti's I get down with here or by clicking on the Linki Parti's link above. Linking up to My Quilt Infatuation crazy mom quilts Quilt Story Sew Cute Tuesday and LAFF