Monday, November 24, 2014

It's A-Bark Time

I managed to finish my latest dog quilt this weekend! I pondered and pondered over the fabric choices for the bases. And then pondered some more for the borders and binding fabrics, good grief. Working in the dark hasn’t been helpful. I initially thought I was going to use the coral solid I auditioned in my last post about this quilt. After I cut the coral strips it wasn’t right so I plunged ahead with the teal solid. I blame the short days. By the time I get home from work it is already dark, stuff just looks better in the dark!


Once all of the bases were attached I reviewed about a thousand – ok a dozen (felt like a thousand though) – different combinations for the inner and outer borders and couldn't get that to come together either, ugh. Ever have ‘one of those’ quilts, jee whiz?! I finally decided to nix the inner border altogether and increase the size of the outer border so that the quilt ended up the same size but only has one border. Since this quilt is destined to hang in a dog rescue I went with this Moda Summersville print by Lucie Summers that features different animals included dogs for the border. The larger sized border allowed for plenty of space to show off those animals too!

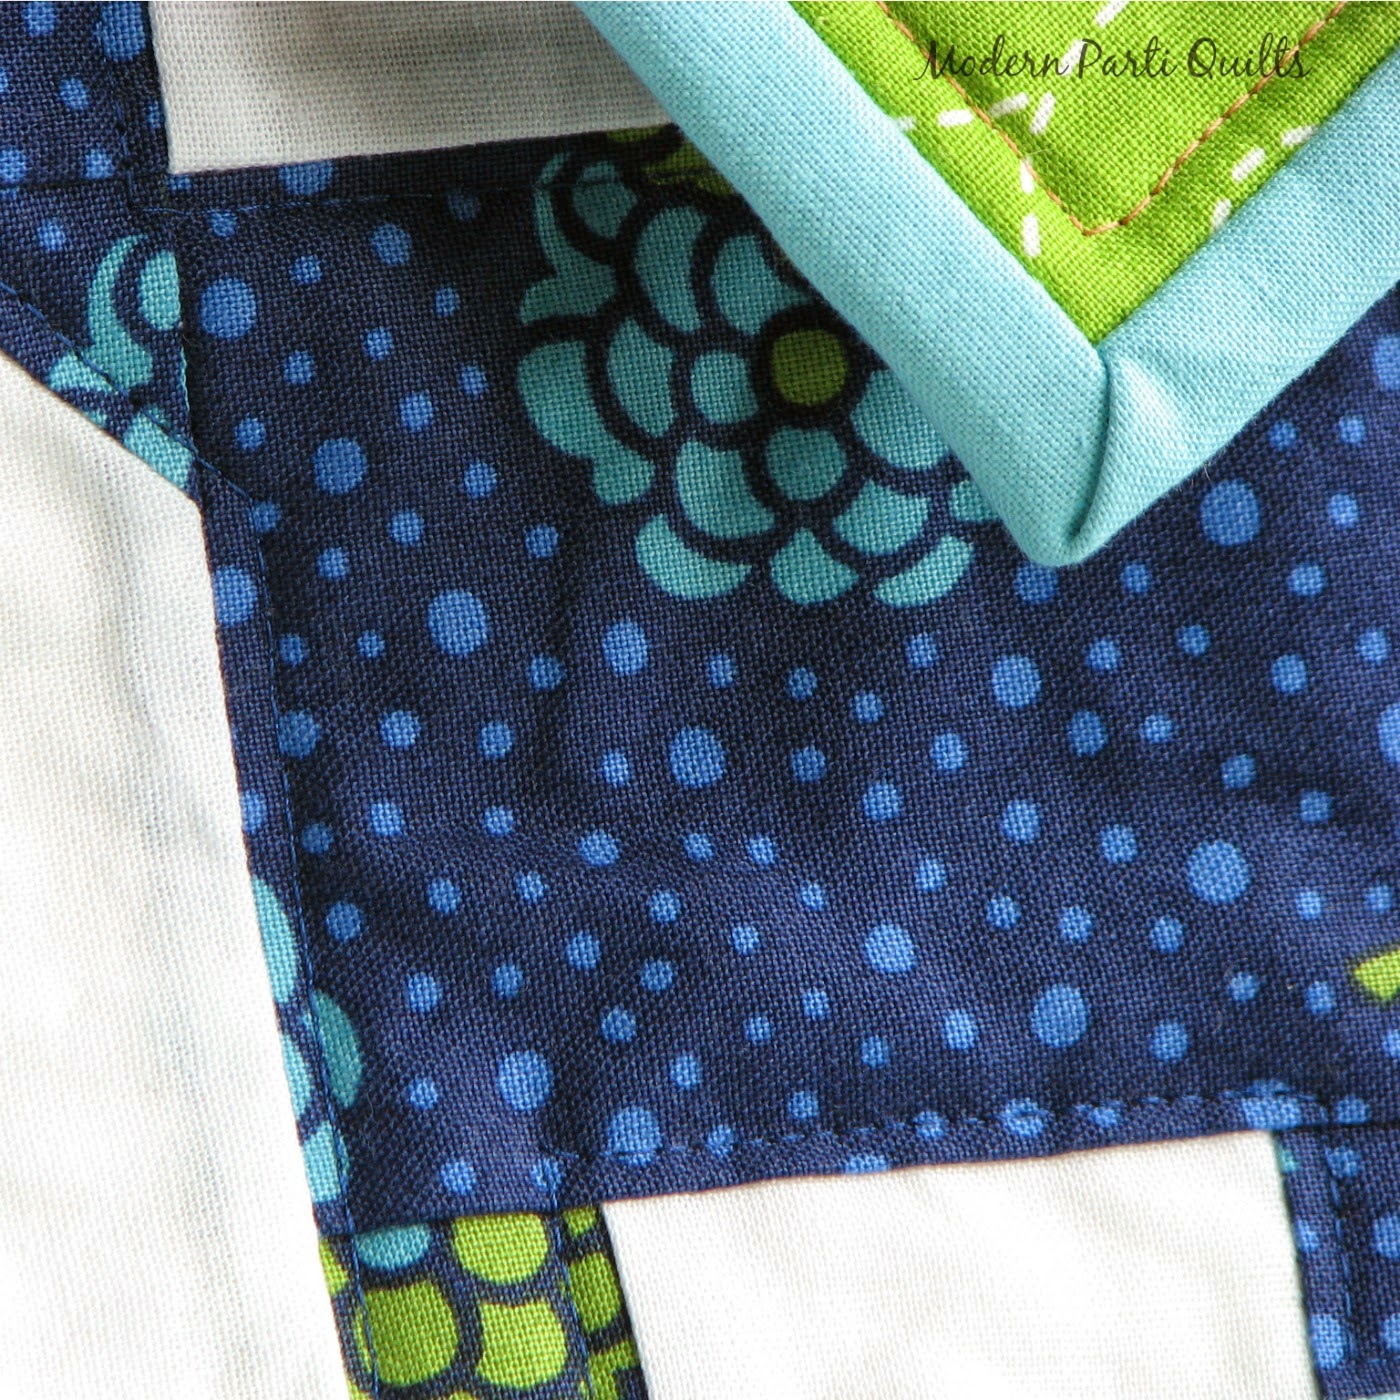
I had not forgotten about that solid coral! I did a peek out binding using the solid coral and teal. I'm wondering if there is a name for this type of binding? I recently discovered a two color binding strip in a $5 scrap bag I purchased from my LQS, Patches and Petals. Serious, make your own scrap bag for $5! After deconstructing the scrap binding I figured that I could probably manage making one! To create the two color binding I just cut a 1.5in strip of teal aka the outer binding color and a 1.75in strip of the peek out color which was coral on this quilt, sewed the two pieces together and pressed in half. Done! It’s a little fussy because the binding does need to be pressed exactly in half or the peeking color ends up wavy but this is going to look super cute hanging up so totally worth it! It is just the right amount of that amazing coral which is by Art Gallery Pure Elements. The teal solid is Kona Azul. 

I attach my bindings front and back by machine. I use a 2 3/4in binding folded in half, the extra ¼ inch gives me just a little breathing room... I attach the binding to the back of the quilt first. This time I sewed the back binding a little narrower than usual by moving the needle to the right a couple of hairs (1.0 on my machine – it was either 3 or 4 hairs). Making the back binding a little smaller allowed me to stitch along the front directly on the crease where the teal and coral meet without sewing over the back binding accidentally.

Side track: Did you notice the dog butt with chicken head, yikes!

Oh the quilting! This time around I top stitched each dog in coordinating thread. The simple quilting should allow the dogs to shine without distraction at the rescue.


And


Too rainy for a good outside photo but here are all the dogs! I did add in the coral with flowers in the upper right and solid mustard dogs... because they were too awesome not to.  Both are Art Gallery fabrics, but don't they look great with the Simply Style line!


Link Parti's 

Take a look at the linki parti's I get down with here or by clicking on the Linki Parti's link above. Linking up to Stitch by Stitch Sew Fresh Quilts Richard and Tanya Quilts Persimon Dreams crazy mom quilts and Quilt Story 

Thursday, November 20, 2014

Throwback Thursday #1

I’m still struggling with selecting the base for my current dog quilt… Thanks so much for all the help! I finally decided on the coral solid, cut a strip and put them up on the design wall. And then I wasn’t WOWed. I cut a string of the teal solid. I liked the teal a little better but not enough to actually attach them. Sooo more pondering and less sewing. Boo. On the plus side I now have all of the dog blocks finished! Since there isn’t much to share on my current wip I thought I’d do my first Throwback Thursday post, yay, another first! I finished this red and tan HST quilt earlier this year


I was inspired by a quilt over at cluck cluck sew. I wanted to do something similar as a gift to our friends for their upcoming wedding that my hubby and I could make together. I thought it might be best to practice first! This is the practice quilt. We used Kona Khaki for the tan and various red fabrics. It had to be red for Wisconsin Badgers of course. I started with 4.5 inch squares, drew a line down the center of the tan squares, right sides together and stitched on each side resulting in two HST blocks for each set of squares.


I realized that I had absolutely no red fabric in my stash before I started making this. That was sort of an eye opener, jeez, how did that happen?! Oh well, more shopping!! I kept the quilting simple with straight lines outlining one side going in each direction. The balloon fabric is one of my favorites in this quilt!


I loved the idea of a black and white binding along with a black and white backing. This little quilt measured 37x41 and is available in my etsy shop.


Here’s a picture of the wedding quilt that my hubby and I made for our friends. Hubby marked all of the squares, did some rotary cutting, drew the applique and snipped all of the thread from the chain piecing. Serious. I sewed, quilted and supervised!


Link Parti's 

Take a look at the linki parti's I get down with here or by clicking on the Linki Parti's link above. Linking up to crazy mom quilts What a Hoot Quilts Whoop Whoop Friday and My Quilt Infatuation 

Monday, November 17, 2014

Doggone Progress

I've still been playing catch up from our trip to California last week. My family did Thanksgiving last weekend so we were out of town again. Hoping to catch my breath this week! I did manage make a trip to the grocery store, the first in three weeks! And make some progress on my current dog quilt


I've been struggling with selecting the base for the dogs so I've left it off for now. The rest of the pups should be finished by the end of the week so I've got to figure it out!  Below is the base for the dogs; it sort of acts like a colored sashing. Here's a pic from the last time I made this quilt.


The base is a pretty major component since it's repeated in every block. Below are a couple of options I have auditioning on my sewing room floor aka center stage at my house!

Coral solid or print


Mustard solid or print with teal


I think both the mustard and coral prints are a little bit busy for this quilt. I'm also still thinking about the borders and binding. Usually I have all these things pulled together before even starting.


There are a number of green, teal and blue colored dogs and hardly any coral, grey or mustard which is why I'm leaning towards the less dominant colors as the base. I've also considered doing bases of all different colors??  Thoughts? Which do you like?

Link Parti's 

Take a look at the linki parti's I get down with here or by clicking on the Linki Parti's link above. Linking up to Freshly Pieced Quilt Story Blossom Heart Quilts Show and Tell Tuesday and Let's Bee Social 

Tuesday, November 11, 2014

Wonky Work In Progress

It has been a busy week! Hardly any sewing, boo. We have been in California - our son graduated from Marine bootcamp, yay! We had a few days in the sun before returning to the cold weather. Thankfully no snow yet. Before I left I did manage to decide on my next project and even sew up a block to see if I liked 'the plan.'  I stumbled across the wonky pinwheel tutorial by Greenleaf Goods; I really liked the idea and saw a number of variations on Pinterest. It took me awhile, seriously days, to decide on what I wanted to do here. I finally decided on solid Kona Navy surrounded by teal prints. Yum!


I like it! I'm thinking about doing a larger starting square; these were 3.5 inches and seems like it might take forever and ever before a quilt would emerge. My test block above is 6.5 square, it will be 6 when finished. The benefit of using the smaller starting squares is that you can use up even small scraps... a trade off, forever and ever before a finish or using up small scraps. Don't know, gonna have to ponder this one.

Using the dark centers is really no trouble at all, I just used my pink sewline to mark the lines


I can't wait until this is finished. I don't know what it will end up as but I'm excited to see! In the meantime I'm doing another dog quilt that will hang in a dog rescue! Instead of pastels the request for this quilt was 'bright and fun.' I had a couple of ideas, Lily Ashbury always comes to mind when I hear 'bright' but didn't think her awesome florals would work here. I decided on V and Co Simply Style. These fabrics are bright and fun and not too girly or boyish. I think the colors will really pop against a bright white background. I'm planning to use Kona White as the background fabric. I'm working on a plan for the background and borders.


Link Parti's 

Take a look at the linki parti's I get down with here or by clicking on the Linki Parti's link above. Linking up to Freshly Pieced My Quilt Infatuation Whoop Whoop Friday Stitch by Stitch and Let's Bee Social


Wednesday, November 5, 2014

String Pillow


I had quite a few strips leftover when I finished Gumballs. I like scraps but I could have made another quilt all the leftovers I had, wufda! I put together this bonus pillow with a few of the leftovers. I still have plenty to round out my pink and teal stash bins. When I first started quilting I tried to keep my scraps as minimal as possible. I even threw scraps in the trash... gone but not forgotten, sigh. Now I always cut a little extra to build my scrap bins. This pillow was featured at Quilt Story!!


I cut the strips into varied widths and lengths of 3 and 5 inches and put the wider strip right in the middle. I had no plan while putting this together, just sewed together pairs and then matched them up with other pairs until I had long strips. I moved them around a few times on my design wall until I liked the layout. Using light pink thread I did some free motion quilting in a wavy pattern going the opposite direction as the strips. I saw a similar quilt top in Sunday Morning Quilts. Love.


I had a scrap piece of hot pink minky that was just the thing for the back... wow!


This is the second time I have used minky on the back of a pillow. It's a little stretchy and slippery but the backing piece is small so its a fairly manageable task.... hardly any swearing at all! Serious. This pillow ended up a good fit for an 18 inch pillow insert. It actually measures a little bit smaller than 18 inches square but I like my pillows poufy! This pillow is available in my etsy shop.

Link Parti's 

Take a look at the linki parti's I get down with here or by clicking on the Linki Parti's link above. Linking up to My Quilt Infatuation i have to say Quilt Story Pretty Bobbins Quilt Matters Richard and Tanya Quilts crazy mom quilts and Blossom Heart Quilts 

Best,
Heather

Follow my blog with Bloglovin

Saturday, November 1, 2014

Two Finishes and a Viewers Choice Nod

It has been quite a day! I finished Limeade and the bonus project I made to go along with it. It's 16 inch square using a few of the bonus pieces I shared in my last post and a little butterfly from my scrap bin. It will make a good doll quilt or wall hanging for a special little girl who is set to graduate from a crib to a toddler bed!


I love how the grey blocks almost disappear; I must be thinking of my upcoming low volume quilt. I did some free motion swirling since its been awhile since I've used that pattern. I love the texture it give the mini quilt. Is it ok to say that I like the bonus project just as much as the actual quilt!?!


Gosh I love this pink polka dot binding. The fabrics are by Dear Stella from the Confetti Dots selection, the pink is really called peony. Rounded out with Confetti Dots in white, lime and stone. Whatever it will be used for it will go great with the toddler bed quilt I just finished.

Limeade 


I used a similar quilting pattern using great big swirls so the quilt wasn't overly dense. There was some serious crinkly-ness going on with this quilt after it was washed and dried. Amazing!


Lime green polka dots was the requested backing; doesn't it look awesome right up against the hot pink?!


I have made this quilt several times before and I can say for sure that it shrinks big time! Before washing it was 47.5 x 66; after washing it is just the right size for a toddler bed, 44 x 61. Whew, I always worry if I make a quilt too big it might not shrink, it did! life. is. good.

Viewer's Choice

Today the Blogger's Quilt Festival Viewers Choice selections were announced. I'm really proud to be a part of the crowd for my scattered rainbow Herringbone quilt. You can vote for your favorite at Viewer's Choice


Link Parti's 

Take a look at the linki parti's I get down with here or by clicking on the Linki Parti's link above. Linking up to Show Off Saturday Till We Quilt Again Quilt Story Blossom Heart Quilts Sew Fresh Quilts Richard and Tanya Quilts crazy mom quilts and Sew Many Ways